A solar charge controller is a vital component in a solar energy system that regulates and manages the flow of electricity between solar panels, batteries, and loads. Its primary functions include optimizing voltage from solar panels for efficient battery charging, preventing overcharging of batteries, protecting batteries from reverse current flow, and often controlling the distribution of power to various devices or appliances. Essentially, it ensures the safe and efficient operation of a solar power system by maintaining the health of the batteries and managing energy flow.
How Does a Solar Charge Controller Work?
In order to regulate the flow of electricity between the solar panels and the batteries, the solar charge controller measures the voltage of the batteries and adjusts the flow accordingly. As soon as the batteries are fully charged, the controller will reduce the amount of electricity flowing into the batteries so that overcharging will not occur. However, in the case of low-charge batteries, the controller will increase the flow of electricity so that the batteries can be recharged. Additionally, some controllers are able to track the weather and adjust the charging parameters in accordance with the amount of sunlight available at any given time, ensuring optimal charging efficiency even in cloudy weather.
Main Types of Solar Charge Controllers
In general, solar charge controllers can be divided into two types: pulse width modulation (PWM) and maximum power point tracking (MPPT).
PWM controllers: As a matter of fact, PWM controllers are well-suited to smaller, simpler solar systems because they control the voltage from the solar panels to the batteries at a fixed rate. They are also quite inexpensive and easy to maintain. It is true that their functionality is limited to fixed solar panel configurations, and they are generally less efficient than their MPPT counterparts.
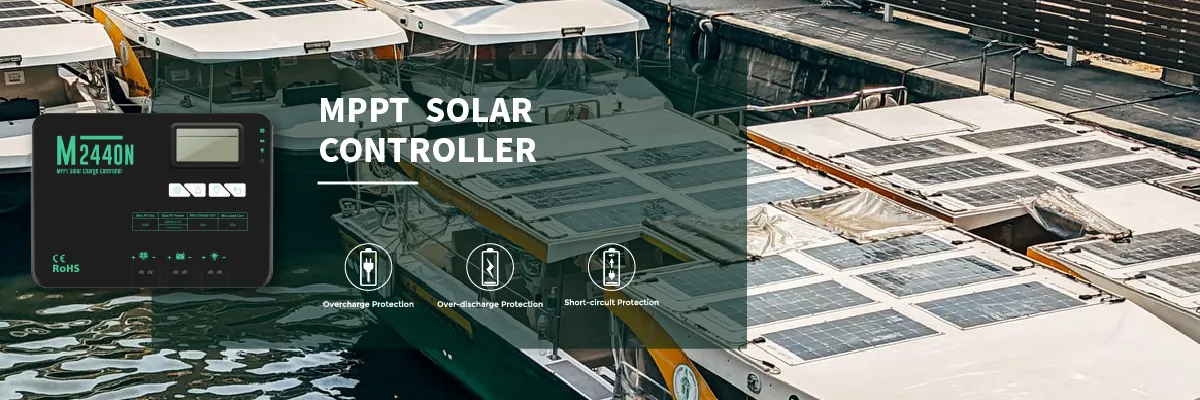
MPPT controllers: For larger and more complex solar systems, MPPT controllers are more efficient and versatile. Using these controllers, you can track the maximum power point of the solar panel, providing up to 30% more power than if you were using a PWM controller, and you can use them for any type of solar panel. Their enhanced performance comes at a higher price point as compared to PWM controllers. However, solar charge products with MPPT controllers are more popular on the market due to their higher price point.
How to Match Solar Panels to a Charge Controller?
Matching solar panels to a charge controller is crucial for the efficient and safe operation of a solar power system. The goal is to ensure that the charge controller can handle the electrical characteristics of the solar panels while effectively charging the batteries. Here's a step-by-step guide to help you match solar panels to a charge controller:
1.Determine Total Solar Panel Voltage:
Identify the voltage specifications of your solar panels. Solar panels typically produce electricity at a certain voltage level, such as 12 volts (V), 24V, or 48V.
Determine whether your solar panels are connected in series or parallel. If in series, add the individual panel voltages to calculate the total voltage.
2.Calculate Total Solar Panel Current:
Determine the current output of each solar panel in amps (A).
If the solar panels are connected in parallel, add the individual panel currents to calculate the total current. If connected in series, the current remains the same as that of a single panel.
3.Estimate Total Solar Panel Wattage:
Calculate the total wattage of the solar panels by multiplying the total voltage (from step 1) by the total current (from step 2). The formula is:
Total Wattage = Total Voltage × Total Current
4.Select a Charge Controller:
Choose a charge controller that can handle the total wattage of your solar panels. It should have a maximum input wattage rating greater than or equal to the calculated total wattage.
Ensure that the charge controller's voltage rating matches or exceeds the total voltage of your solar panels. For example, if your panels produce 24V, select a 24V or higher voltage charge controller.
5.Consider the Charge Controller Type:
Decide on the type of charge controller you need based on your system requirements:
PWM (Pulse Width Modulation): Suitable for smaller systems with lower power output.
MPPT (Maximum Power Point Tracking): More efficient and suitable for larger systems or systems with varying sunlight conditions. MPPT controllers can convert excess voltage into current, improving energy harvesting.
6.Additional Considerations:
Ensure that the charge controller is compatible with the battery bank's voltage (e.g., 12V, 24V, 48V) to which it will be connected.
Check if the charge controller has any additional features or protections you may need, such as temperature compensation, load control, or various safety features.
7.Install and Connect:
Follow the manufacturer's instructions for installing and connecting the charge controller to your solar panels, battery bank, and loads. Proper wiring and configuration are essential for safe and efficient operation.
Matching solar panels to a charge controller correctly is critical for optimizing the performance and longevity of your solar power system. Always consult the documentation provided by the solar panel and charge controller manufacturers for specific compatibility guidelines and installation instructions.
How to Choose the Right Size of Charge Controller?
Depending on the voltage and current of your solar array, solar charge controllers come in a variety of sizes. The wrong size of your solar array can cause power loss and inefficiency. In order to ensure optimal performance, it is crucial to choose the right size.
The first thing to look for is the voltage rating of the charge controller. Typically, PWM controllers operate at 12 or 24 volts, while MPPT controllers can operate at 12, 24, 36, and 48 volts.
Charge controllers are usually rated according to their amperage capacity. PWM controllers with smaller capacities may be rated at 10, 20, or 30 amps. MPPT controllers with larger arrays are usually rated at 80 or 100 amps.
Using this formula, we can calculate the potential amperage output of a solar array: Amps = Watts / Volts.
We can calculate the amps output by a solar array providing 800 watts of power while operating at 12 volts by using the formula: Amps = 800 watts / 12 volts = 66.67 amps.
To avoid overloading or possible malfunctions, a charge controller with a rating of 70 amps is recommended for this solar array.
Conclusion
solar charge controllers are an invaluable tool when it comes to maximizing the use of solar power. You can use this guide to make the best choice, regardless of whether you are looking to power your home or your business. In order to ensure that your system operates smoothly with a minimum amount of maintenance and cost, you can easily find the right type of controller based on your specific needs and preferences.


 Español
 Français
 Portugues
 العربية
 Deutsch
 日本語
日本語



 TEL
TEL E-Mail
 Address